Posts

How to Divide Into 4 Microsoft Word
Image
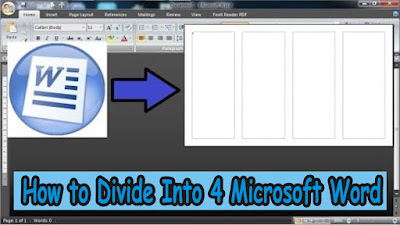
The way to divide a Microsoft Word worksheet into four parts is very easy. First of all open Microsoft Office Word which later we will divide the work paper into 4 columns. After that, select the " Page Layout " menu , then select " Columns " , and select " More Columns.. " for more advanced settings. After that a new window will appear in the form of advanced settings from " Columns ". In the " Number of columns " section , change it to 4. You can see changes to the number of columns or sections in the worksheet in " Preview " . Click " Line Between " if you want a dividing line between the existing columns. More Tutorials: How To Change Footnote Font in Word How to Put Page Number On Microsoft Word How to show Text Boundaries in Microsoft Word How to Show Vertical and Horizontal Ruler in Word After everything is in order, just click " OK " to save the settings. Well, now the Microsoft Word worksheet has b...
How to Remove Red Underline in Word

Image
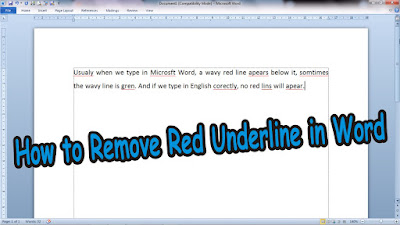
Usually when we type in Microsoft Word, a wavy red line appears below it, sometimes the wavy line is green. And if we type in English correctly, no red lines will appear. Now, to remove the line forever from the Word worksheet, the method is very easy. First of all friends enter " Word Options ", if in Word 2007 click " Office Button " then select " Option ", if in Word 2010 click "File" then select " Option ". After that, if you have entered " Word Options ", friends select " Proofing ". More Tutorials: How To Change Footnote Font in Word How to Put Page Number On Microsoft Word How to show Text Boundaries in Microsoft Word How to Show Vertical and Horizontal Ruler in Word Then in the " When correcting spelling and grammar in Word " section, uncheck the words " Check spelling as you type " then click " OK " to save the settings and automatically the wavy red line under the writing will ...

How to Remove Page 1 Watermark in Excel

Image
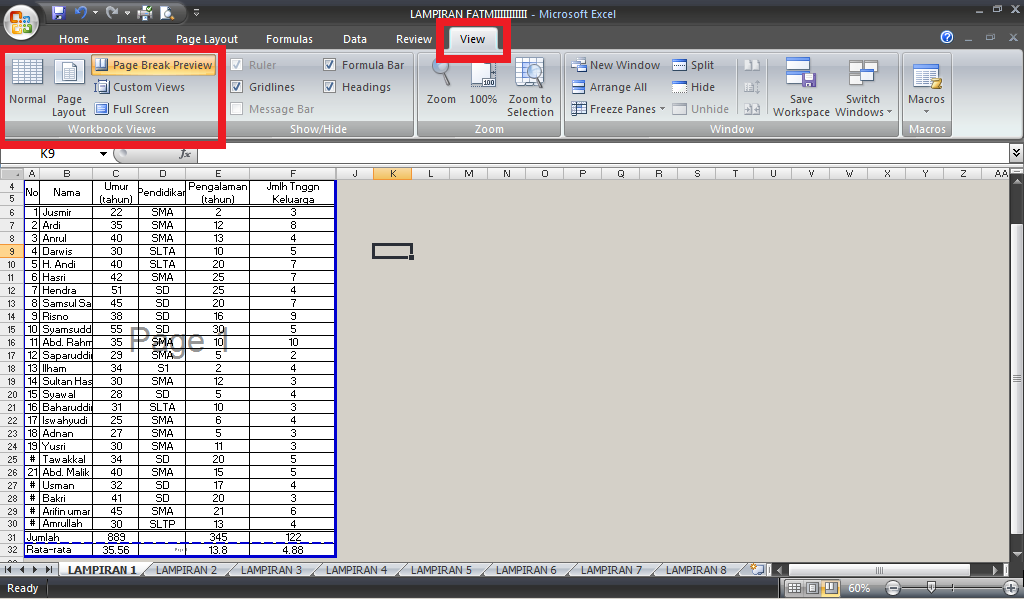
Usually when we are given Excel files from friends or bosses at work to view or study, sometimes the appearance is slightly different from the display we usually know. The worksheet display in question is the presence of a Page writing watermark in the middle of the worksheet. Actually the Page writing watermark in Excel cannot be deleted or removed, but the watermark can disappear if the worksheet view is changed. So, if friends don't know how to change the appearance of an excel worksheet, the method is very easy. First of all, friends, enter the "View" menu, then in the "Workbook Views" section, friends, select "Normal". More tutorials: How to Remove Text Box From Excel How to Clear Print Titles in Excel How to Show Formula Bar on Excel How to Hide and Unhide Excel Worksheet How to Copy Sheet to Another Excel File So, now the display of our excel worksheet has returned to normal view and the page writing watermark in the middle of the worksheet has ...

How to Insert 2 Tables Side by Side in Word

Image
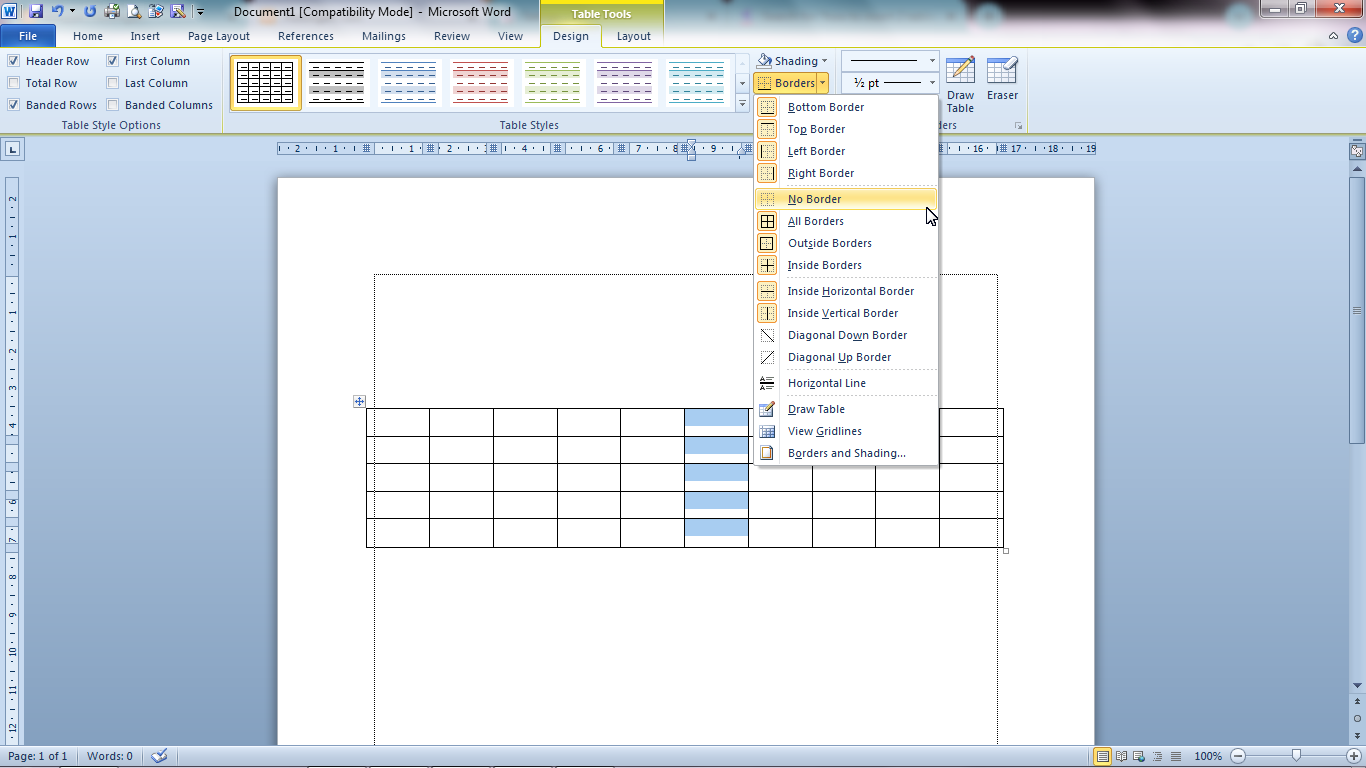
So, in this tutorial, I will share how to make two tables side by side, the first way is to make a table first, the number of columns and rows is free. After that friends can immediately make the table divided into two, the way is friends block or select the column in the middle of the table. After that, friends enter the "Design" menu, then select "Borders" which is near "Shading". After that, in "Borders", select "No Borders" to remove the line in that column, then enter "Borders" again and select "Left Border" to display the line to the left of the column. Then go back to "Borders" and select "Right Border" to make a line appear to the right of the column. Now, after that, friends can see how the table looks in "Print Preview", the appearance will be two tables next to each other. You can add columns and rows according to your needs. More Tutorials: How To Change Footnote Font in Word...